Ultimate Builder Hall 9 Clash of Clans Base Layout
Description
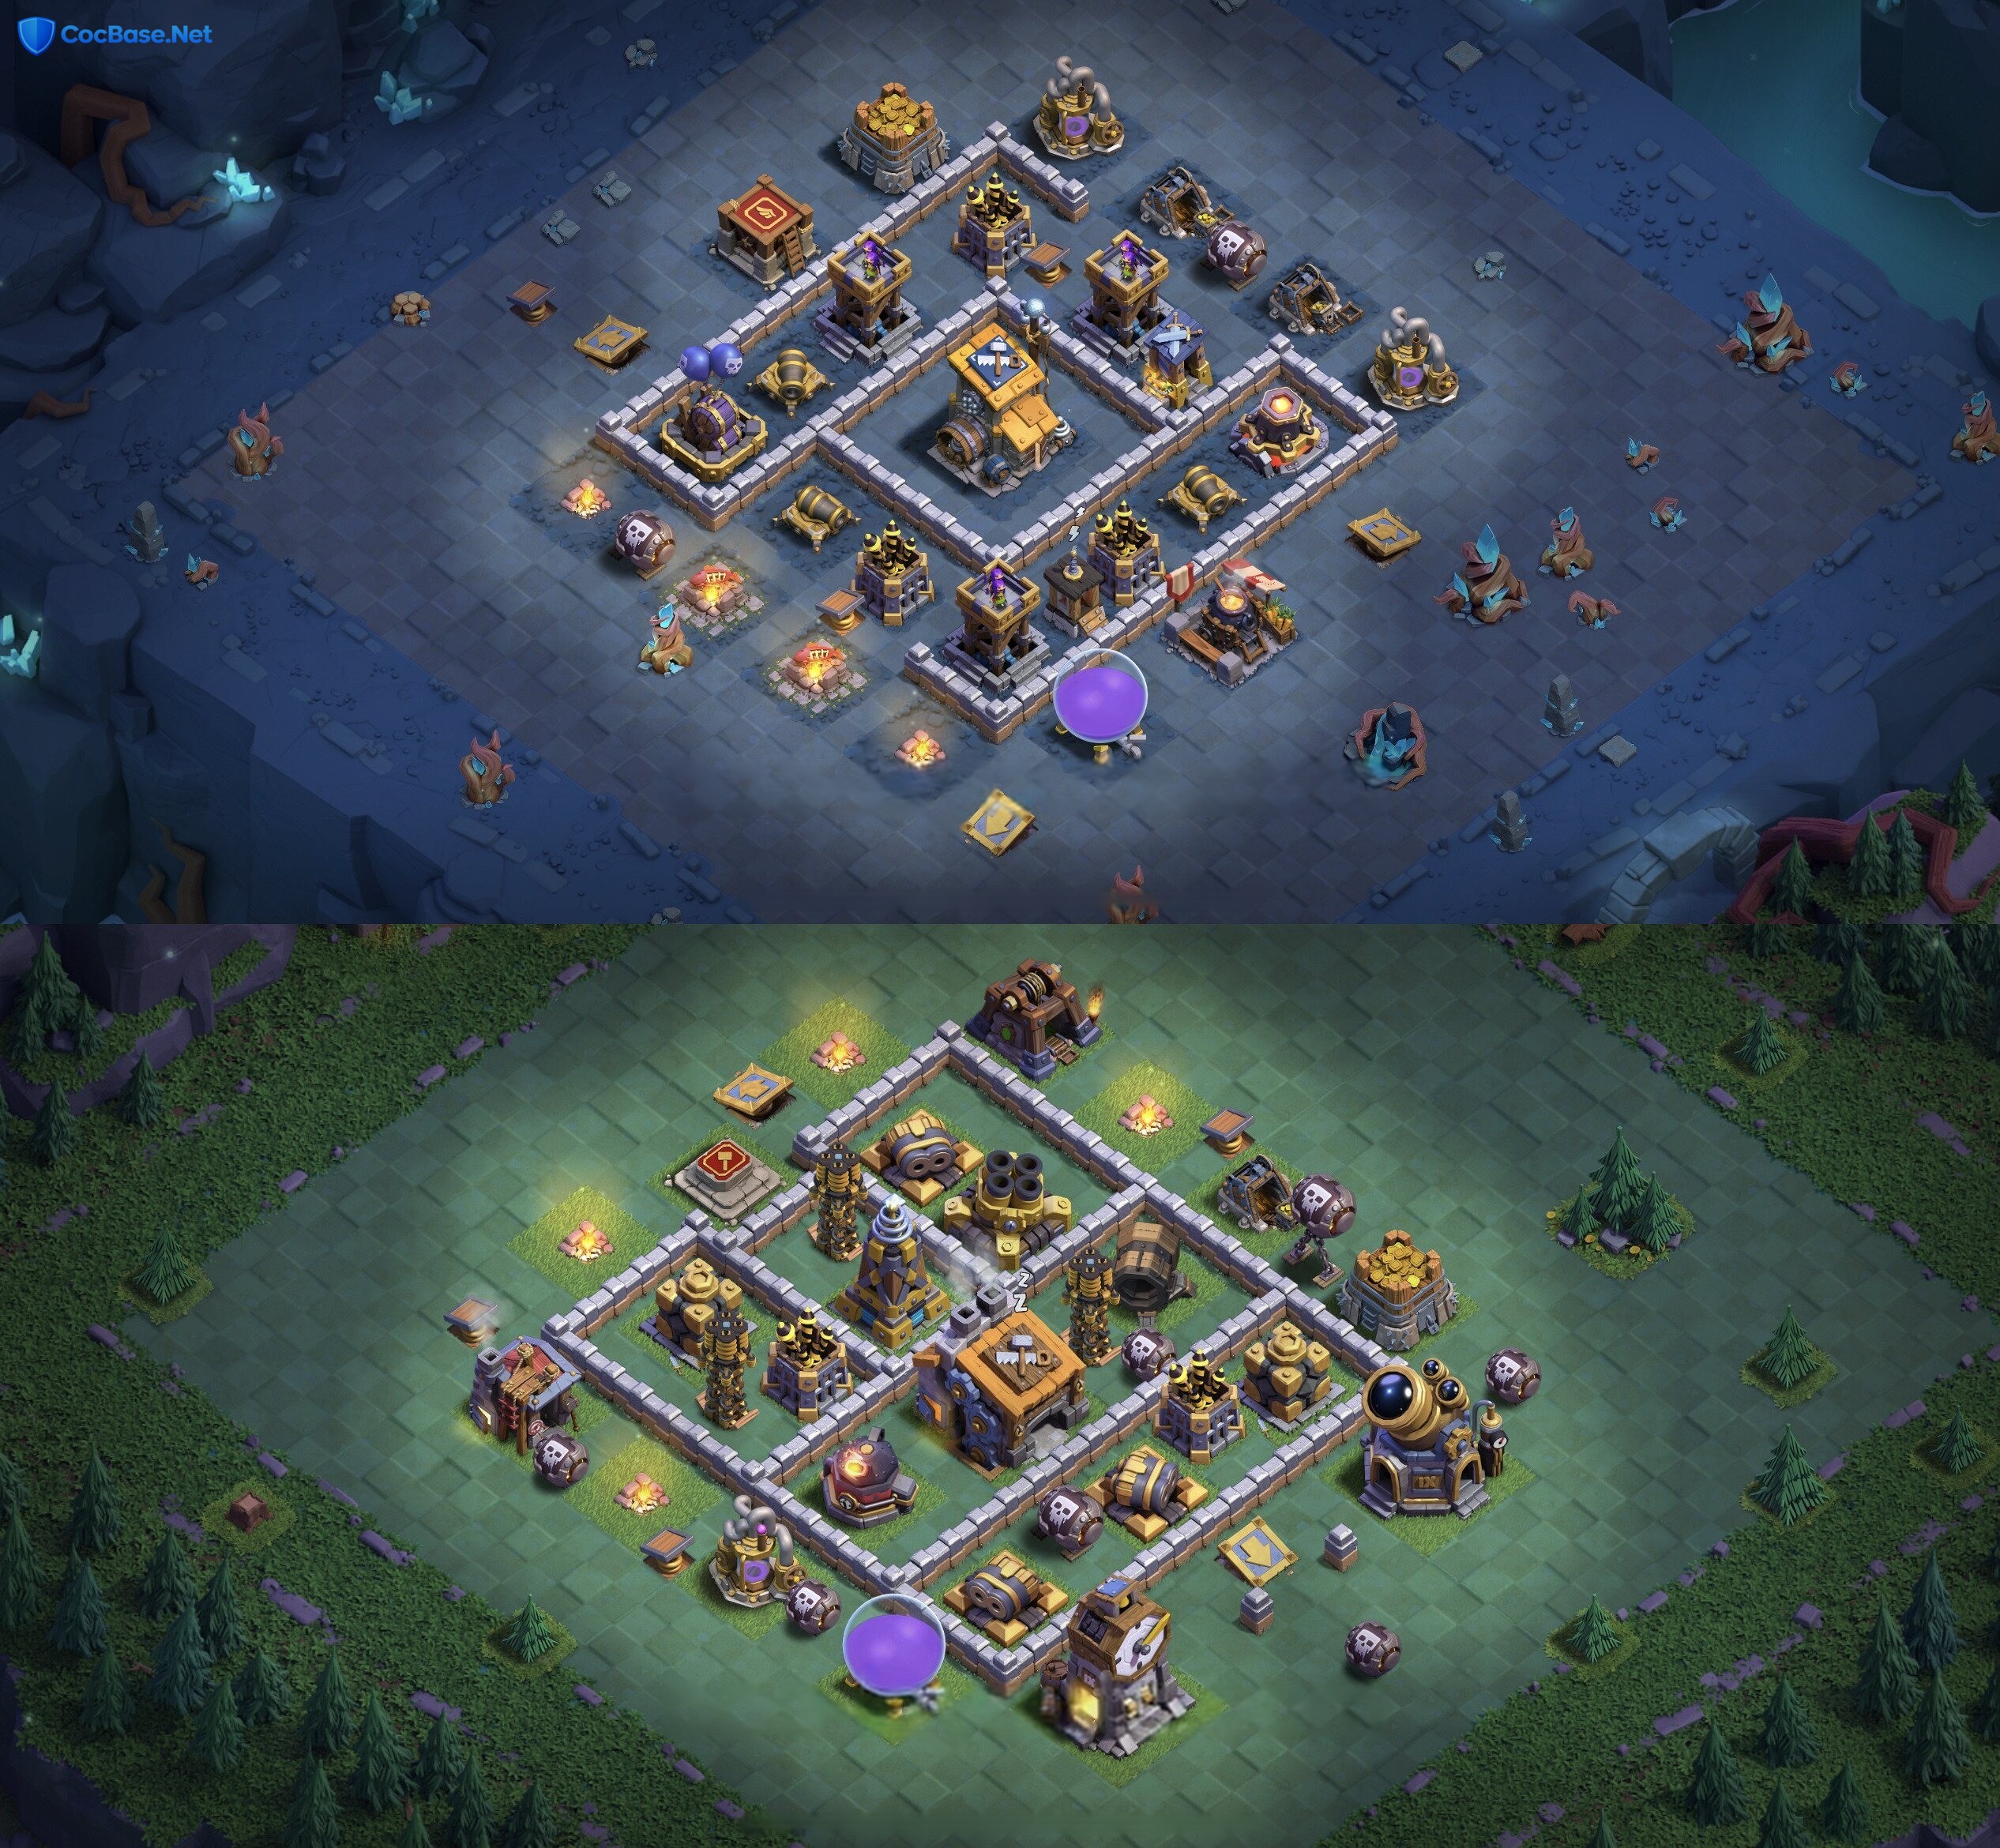
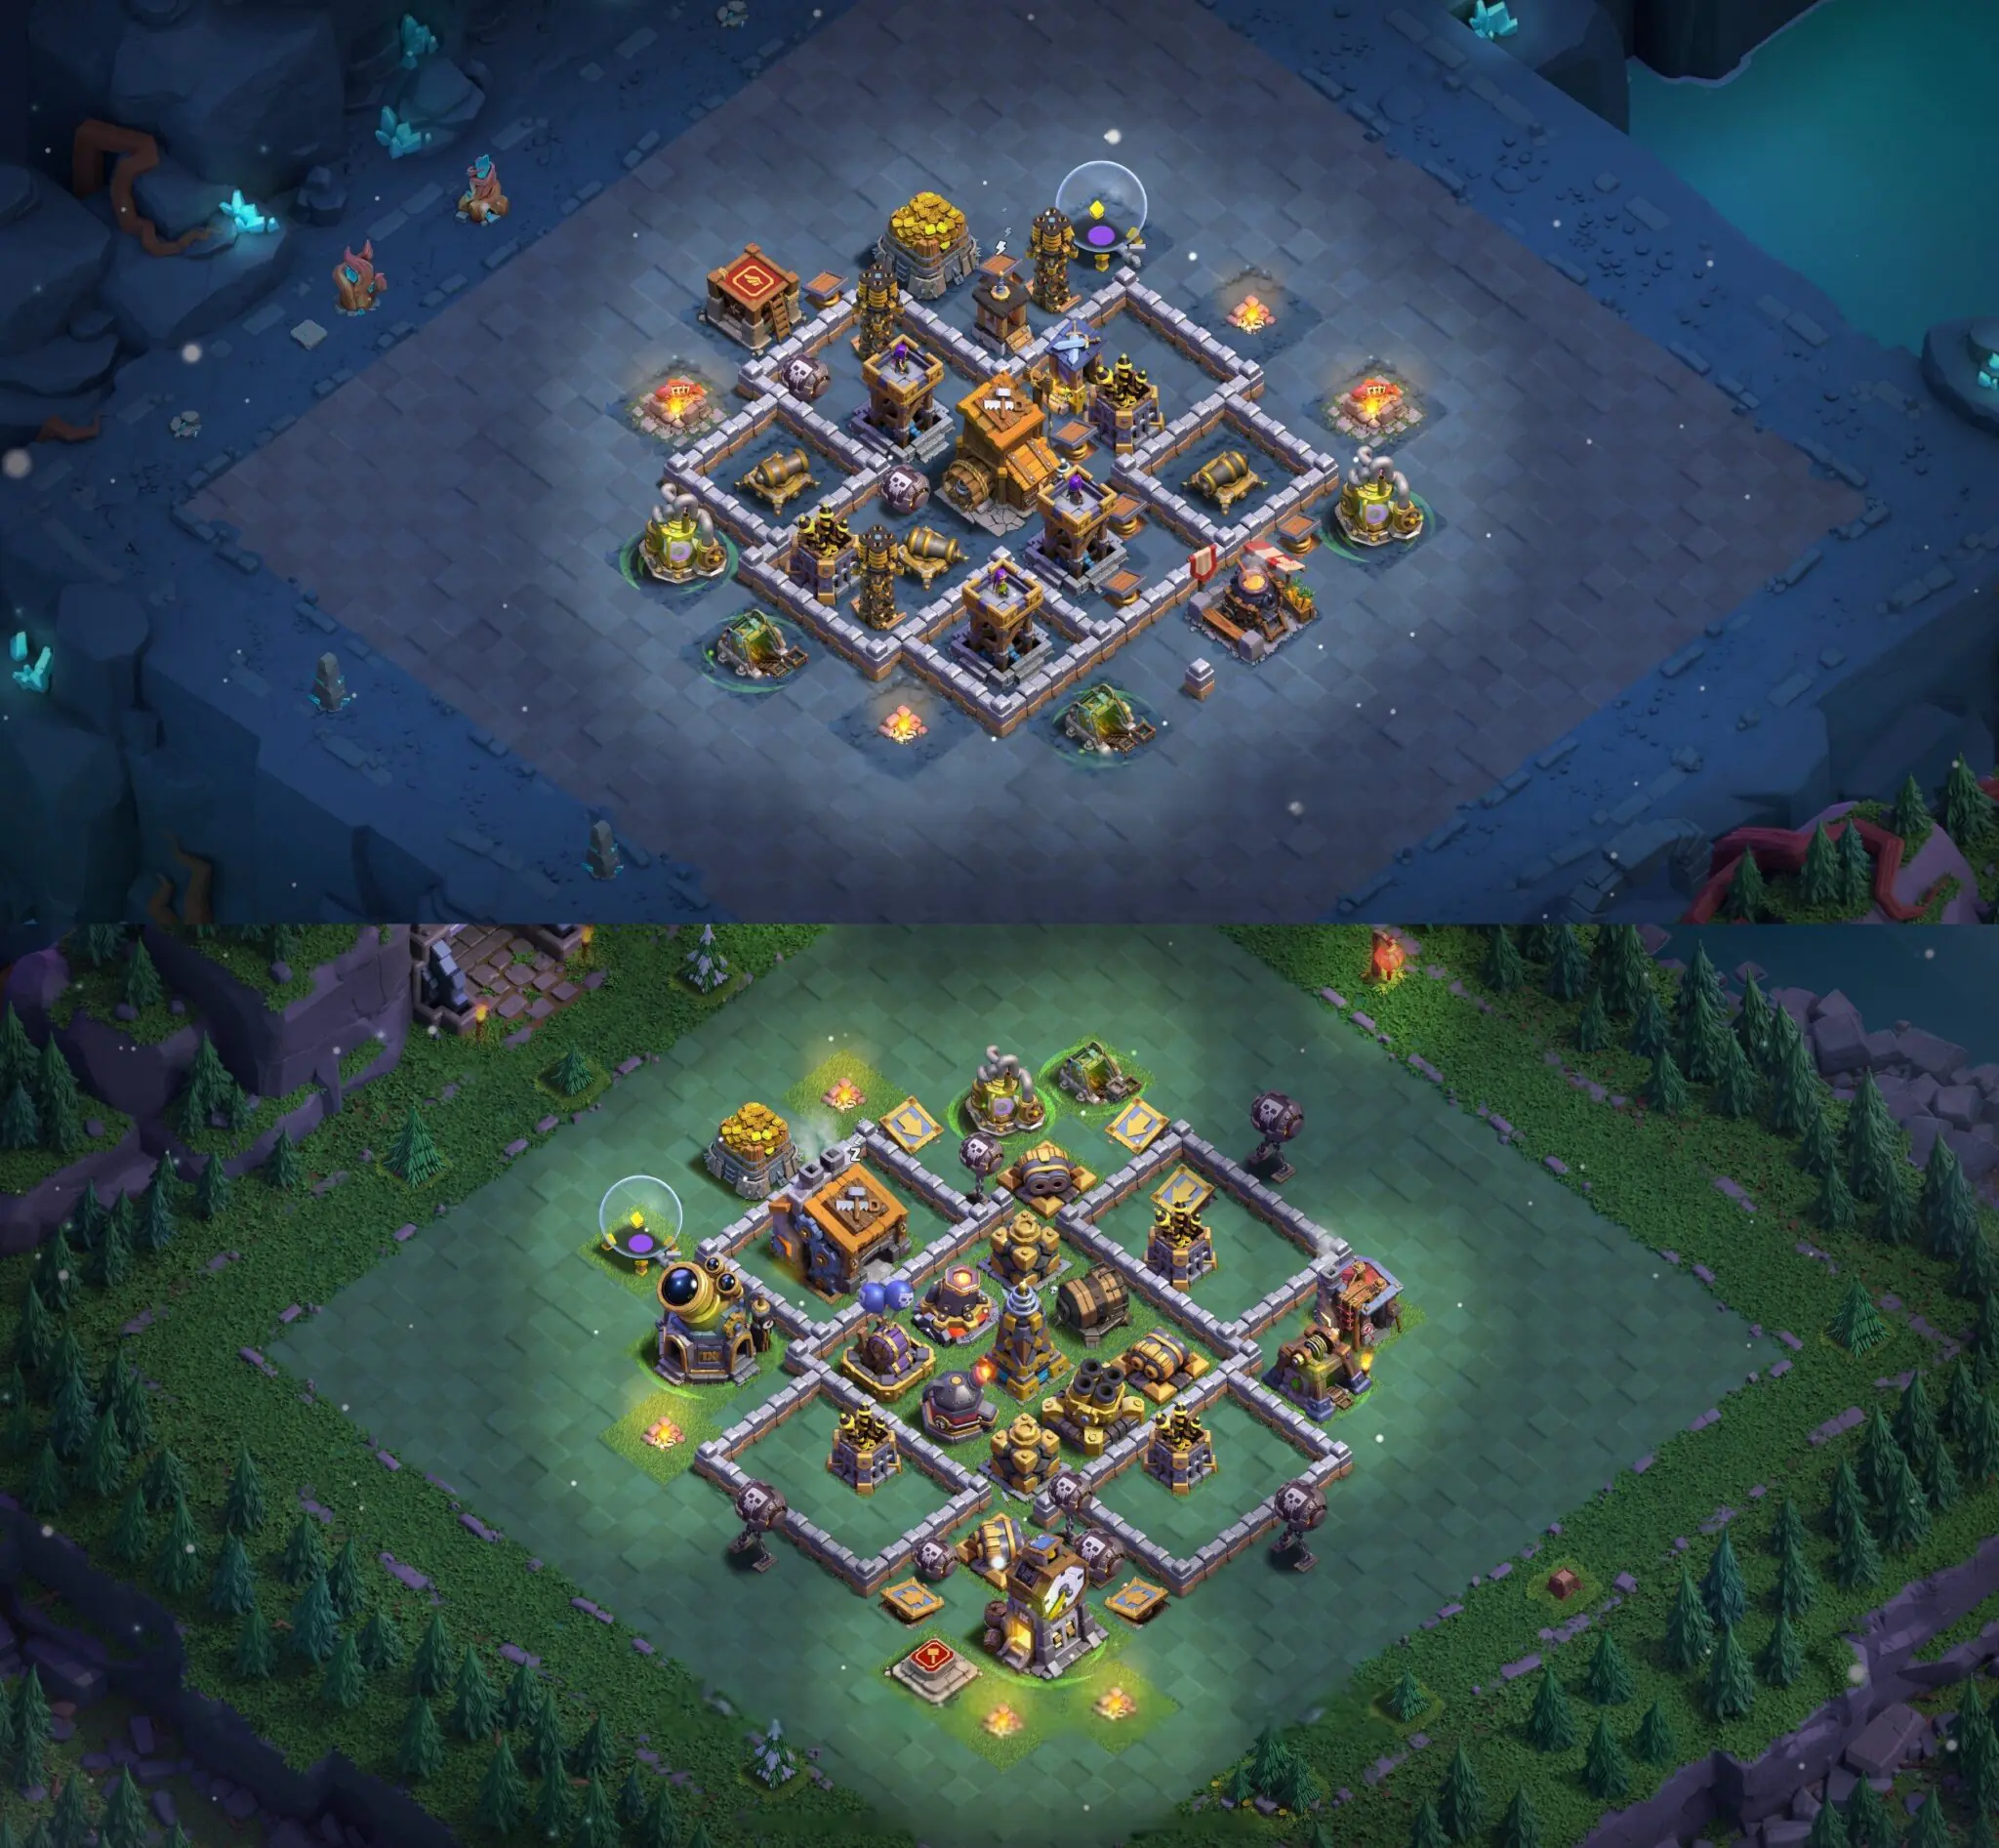
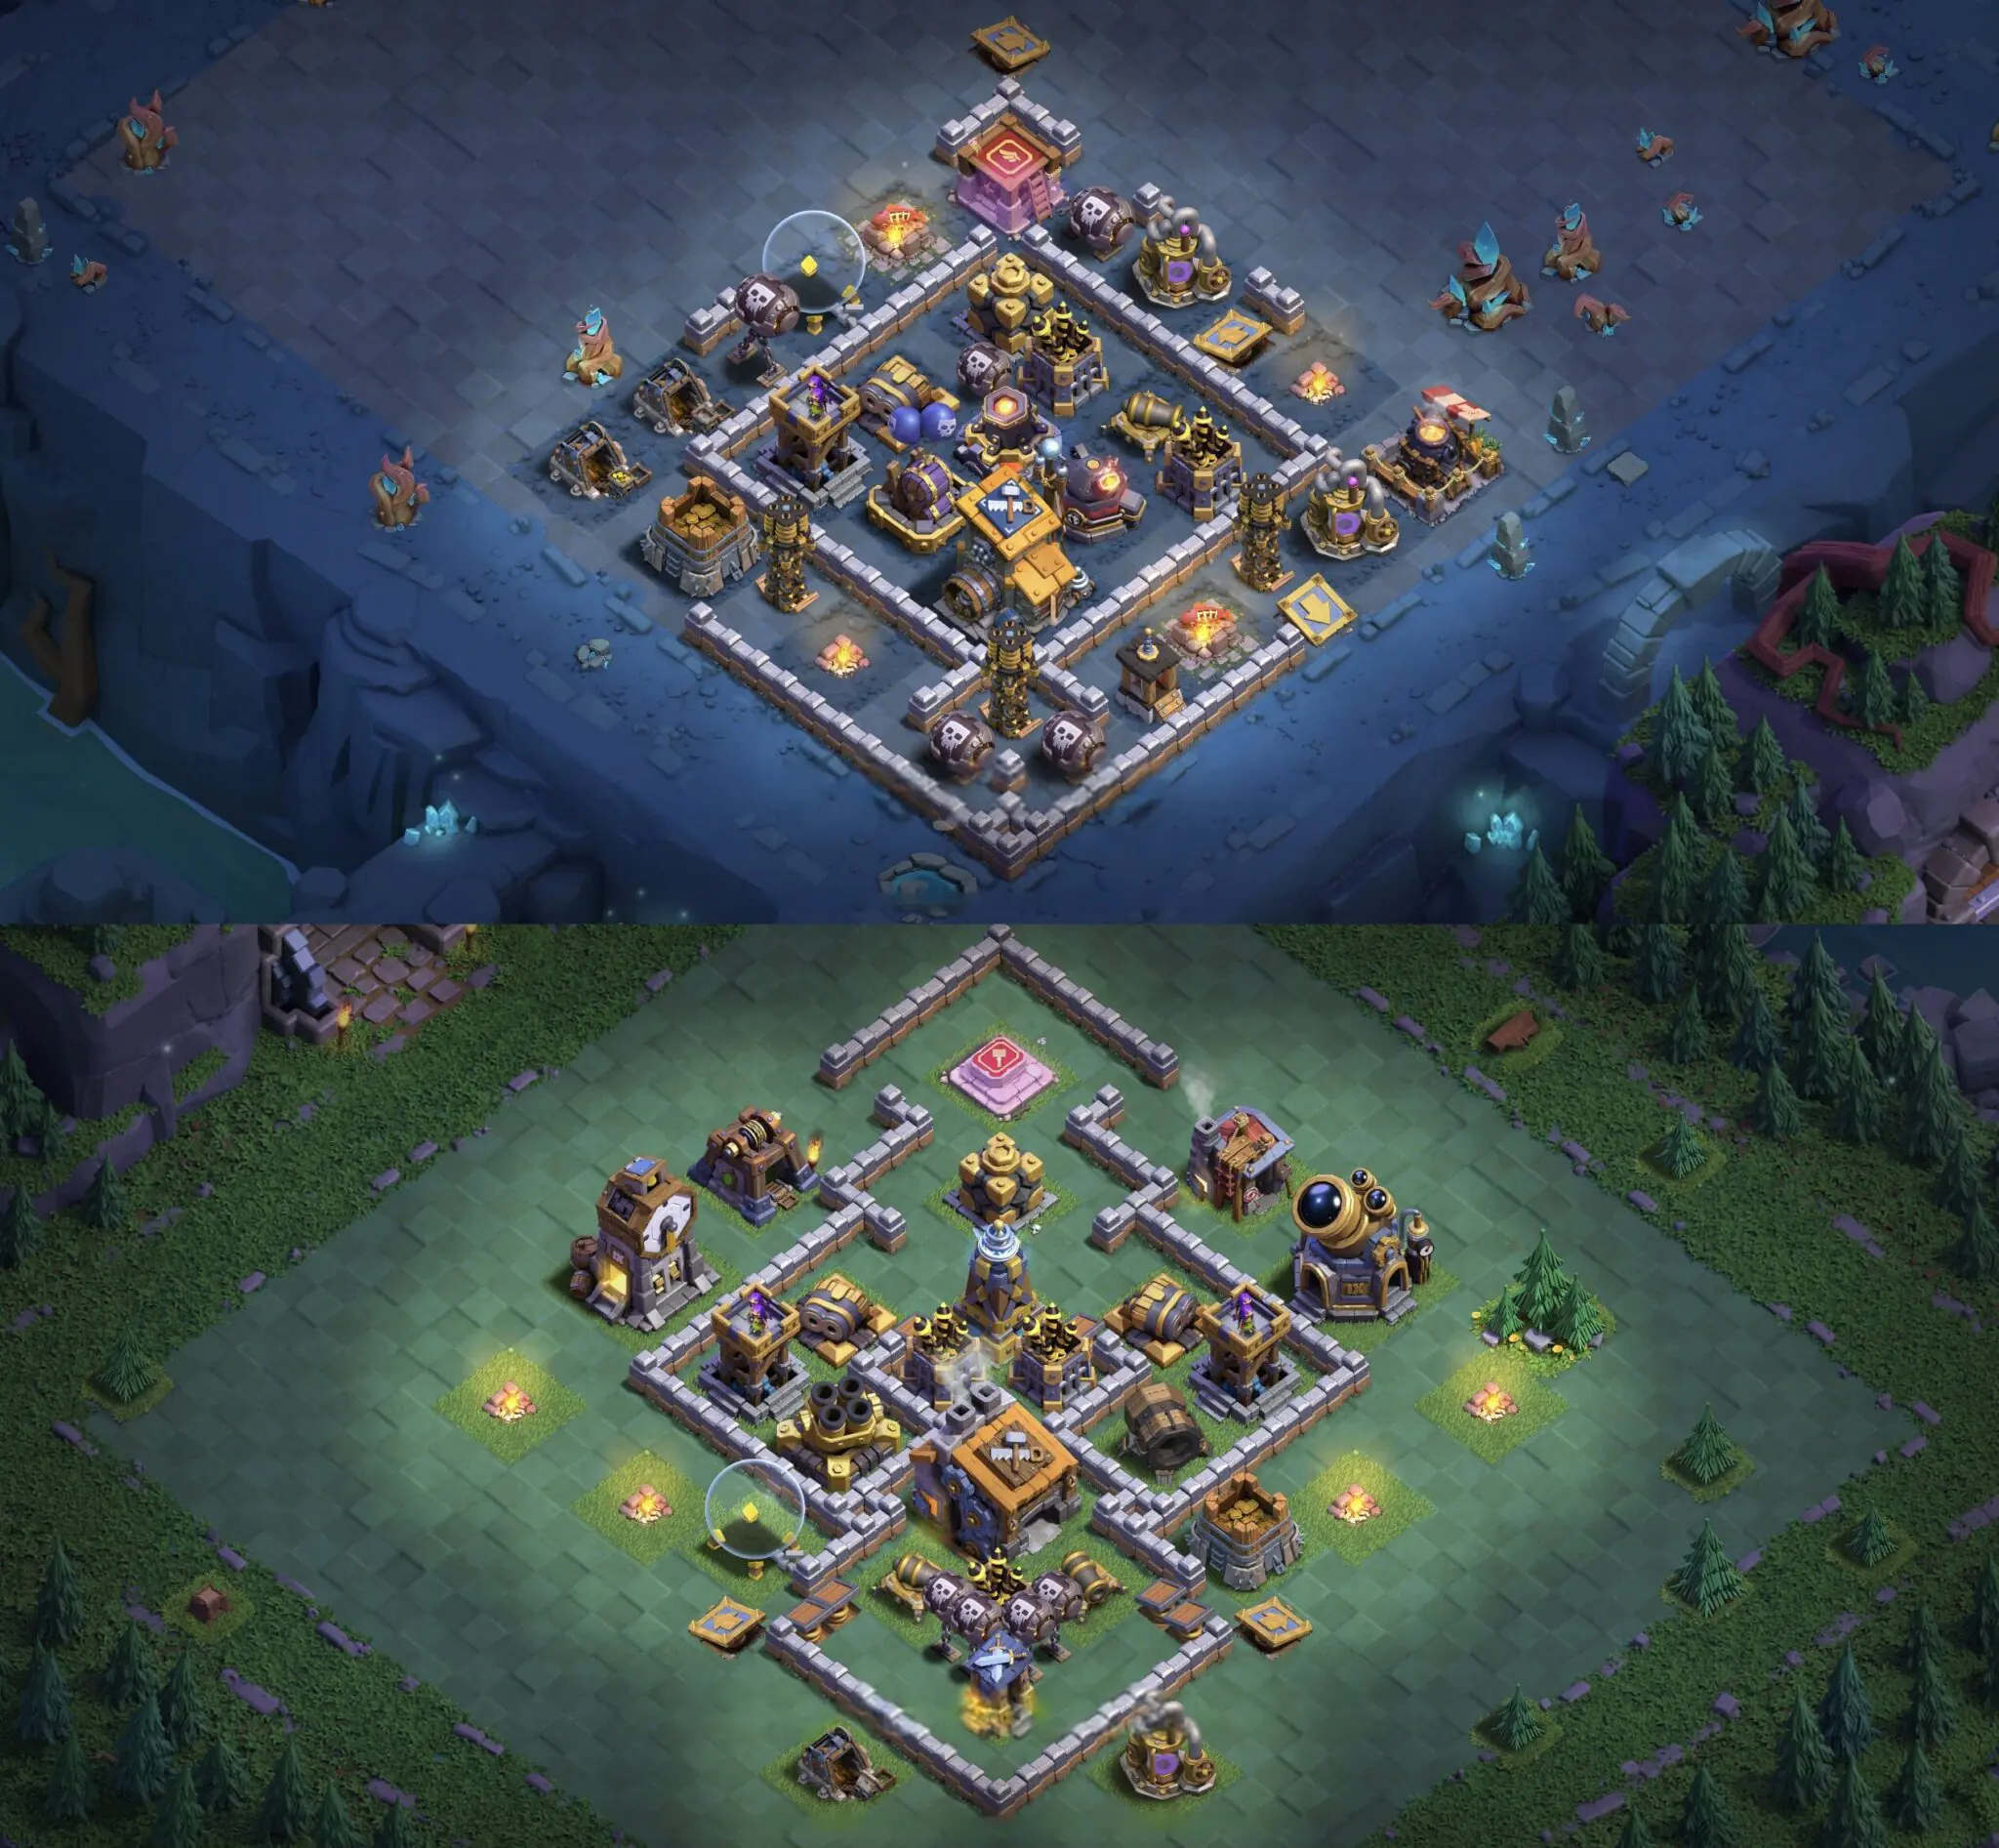
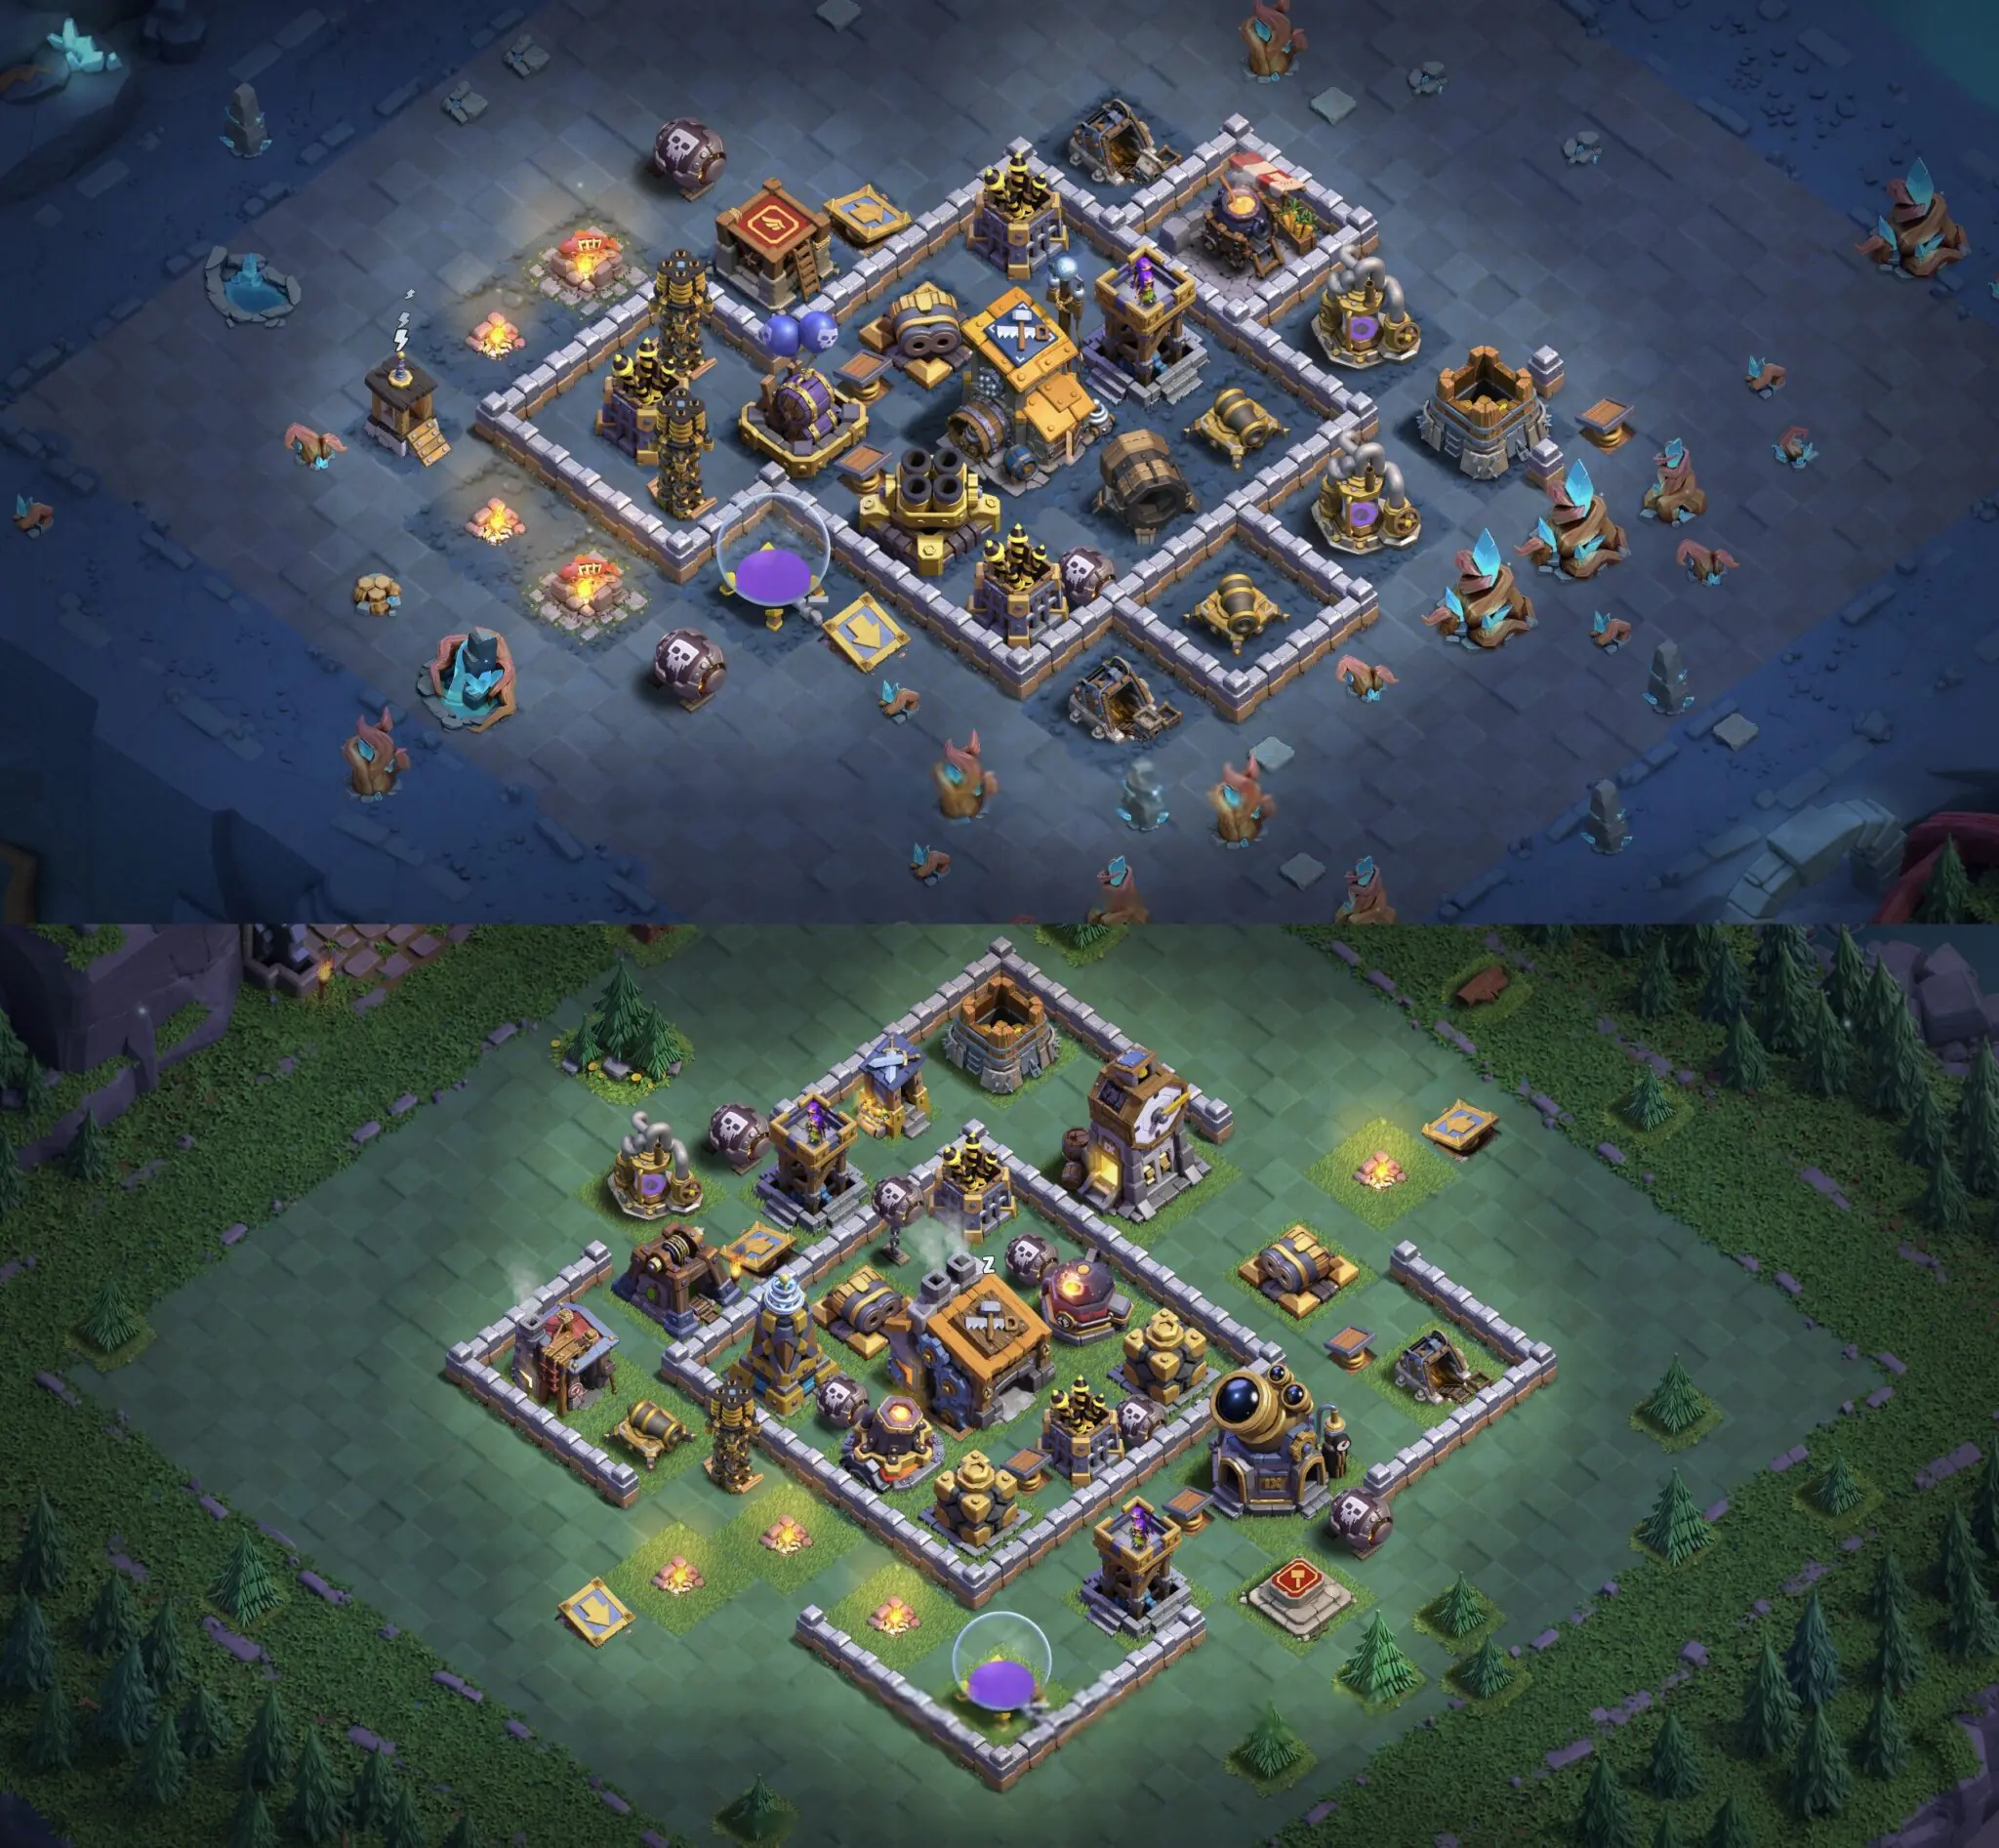
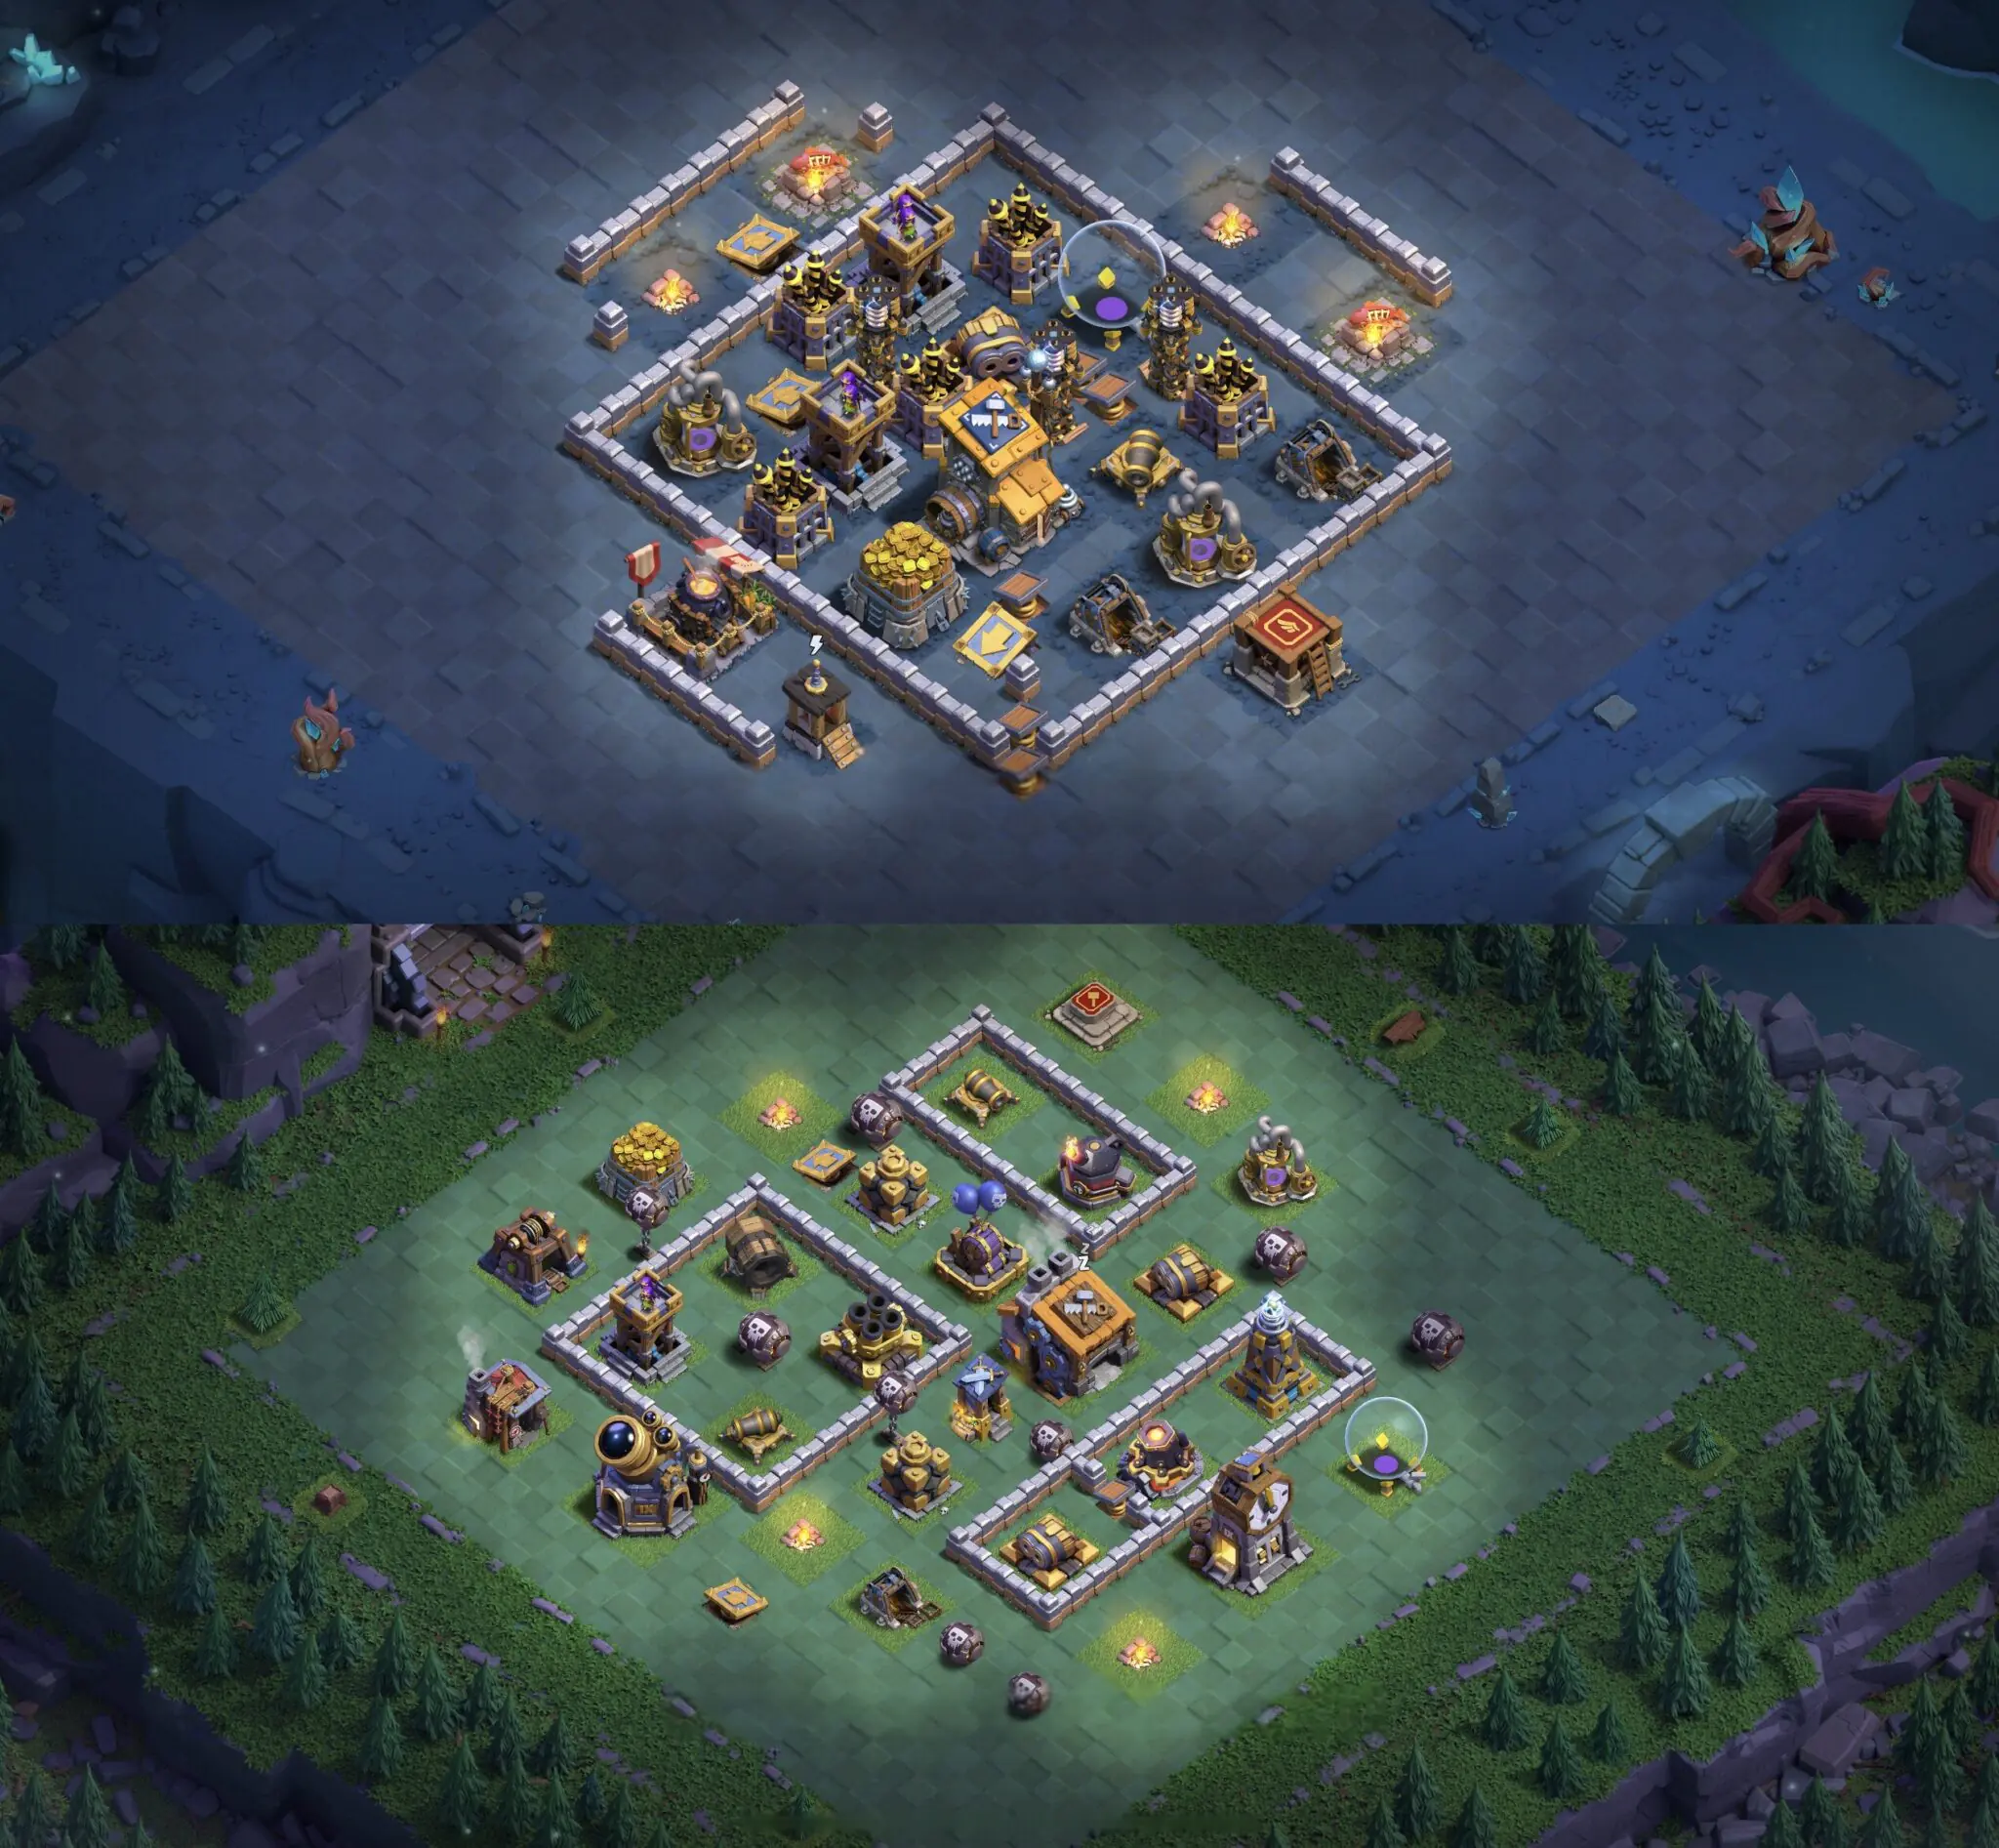
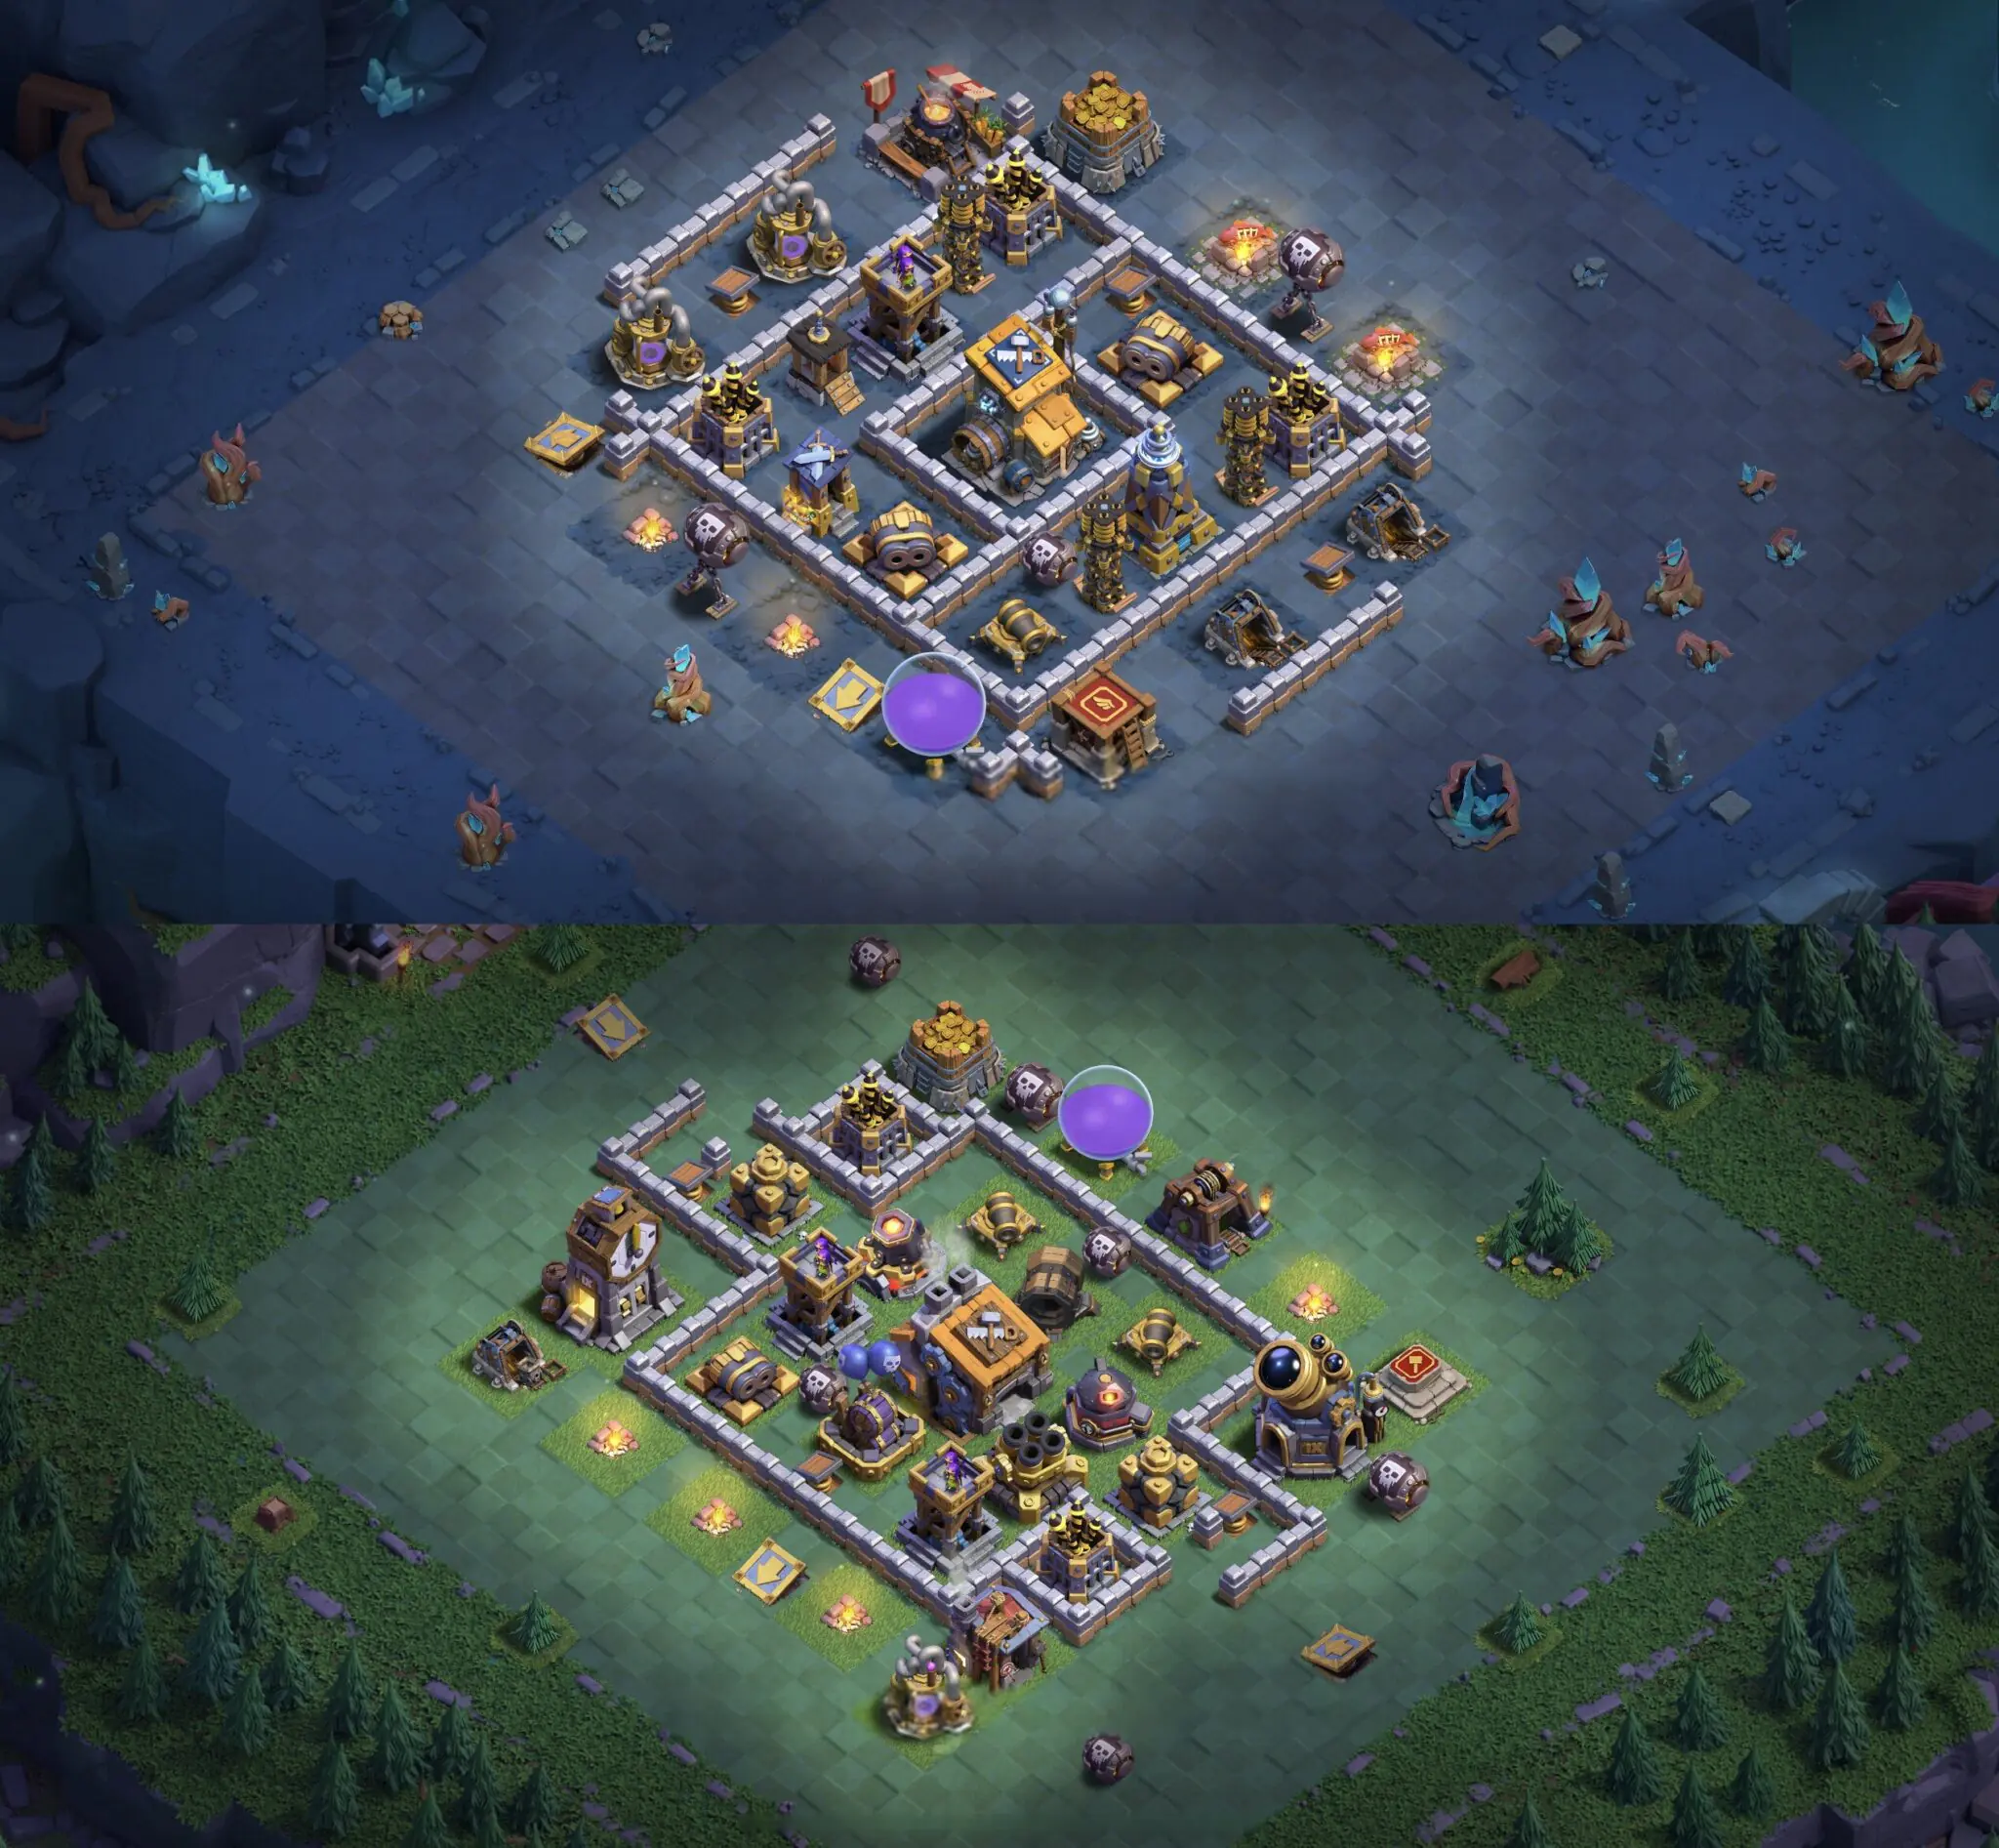
At Builder Hall 9, the key to a successful base is a combination of clever building placement and intelligent troop pathing logic. This Builder Hall 9 base layout is designed to take full advantage of the available space, with the Builder Hall itself positioned in a central location to maximize defense. The Giant Bomb and other defensive buildings are arranged to create a maze-like effect, funnelling enemy troops into kill zones where they can be easily picked off by the base's defenses.
The outer layers of the base are composed of a combination of high-health buildings and strategically-placed Mega Tesla towers, which help to absorb damage and distract enemy troops while the core of the base remains protected. As troops navigate the outer layers, they are forced to navigate a Gauntlet of Hidden Teslas and Trap buildings, making it difficult for them to reach the Builder Hall 9 core. This clever use of troop pathing logic and building placement makes this Builder Hall 9 base layout highly effective against a wide range of enemy attack strategies.
One of the key advantages of this Builder Hall 9 base layout is its ability to adapt to different types of attacks, from ground-based Barbarian and Minion hordes to air-based Baby Dragon and Minion attacks. By carefully positioning the base's defenses and using clever troop pathing logic, this Builder Hall 9 base layout is able to counter a wide range of enemy strategies, making it an excellent choice for players looking to protect their Builder Hall 9 base and climb the ranks in Clash of Clans.
Similar Layouts

Comments 0
No comments yet. Be the first to comment!